To apply lip tint for a soft gradient, start with a small amount at the centre of your lips, blend towards the edges and add colour only where you want more depth.
The quick method: take excess tint off the applicator, place a little colour on the inner lip and soften its edge with a clean fingertip or lip brush. Keep the outer lip lighter. One tint is enough to begin.
Start with a comfortable, clean base
A gradient is simply a change in colour intensity: deeper at the centre, softer towards the outline. It does not require concealing your natural lip colour or drawing a smaller mouth. You can keep your own lip shape and choose how subtle the contrast looks.
Remove leftover makeup before starting. If you like to use a little lip balm first, give it time to settle and gently blot away the excess. A thick, slippery layer can make precise placement harder. Avoid scrubbing your lips just to make a tint look smoother.
For a separate look at everyday lip care, see our lip balm and lip sleeping mask guide. You do not need to add an overnight product to this makeup routine.
How to apply lip tint, step by step
1. Reduce the amount on the wand
Check the applicator before it touches your lips and remove excess against the bottle opening. Start with less than you would use for an opaque lipstick. You can add another small layer; taking away a large patch of colour is less straightforward.
2. Place colour at the centre
Touch a little tint onto the central area of your lower lip, then add a small amount to the upper lip. Keep the product on the lip surface rather than inside your mouth. Leave the outline mostly untouched at first.
3. Soften the boundary
Use a clean fingertip or lip brush to tap the colour a short distance outwards. Work with light touches rather than dragging one thick stripe across the whole mouth. Blend the upper and lower lip separately so that you can see where the pigment is going.
For Dear Darling Water Tint, the published application directions recommend controlling the amount on the applicator and working from the inside out. That makes a useful starting point for this centre-first technique.
4. Build depth where you want it
Look at the first layer before adding more. If you want a stronger gradient, place the next small amount in the centre and blend only its boundary. If you want fuller coverage, extend the colour further towards your natural lip line instead.
5. Check the whole shape
Relax your mouth and look at both lips together. Tidy an uneven edge with a clean brush or cotton bud. There is no universal setting time for every lip tint, so follow the directions supplied with your particular product before layering or adding another finish.
Choose a texture you enjoy wearing
Application controls the placement of colour; the formula influences the finish. These two ETUDE options give you different starting points without needing a collection of products.
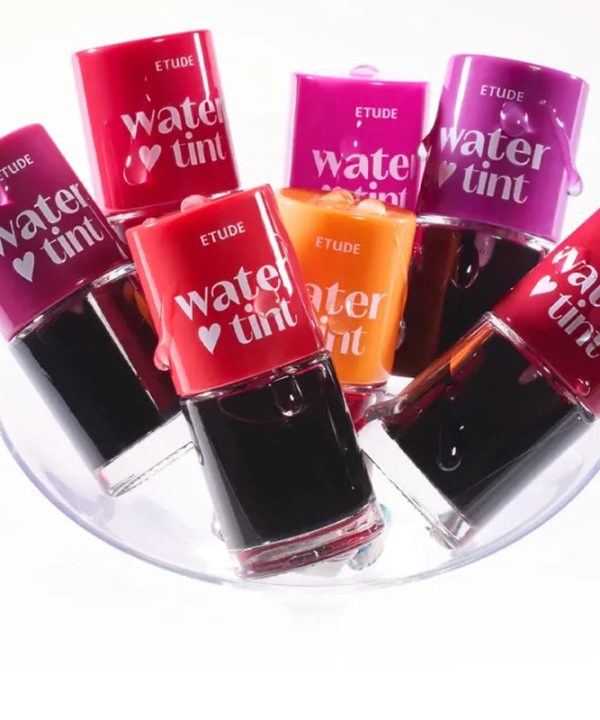
ETUDE Dear Darling Water Tint
Dear Darling Water Tint is a water-based tint. Consider it if you prefer a fluid colour layer rather than the feel of a traditional lipstick. Begin with a small amount and build selectively. It is a different product from Dear Darling Water Gel Tint, despite the similar names.
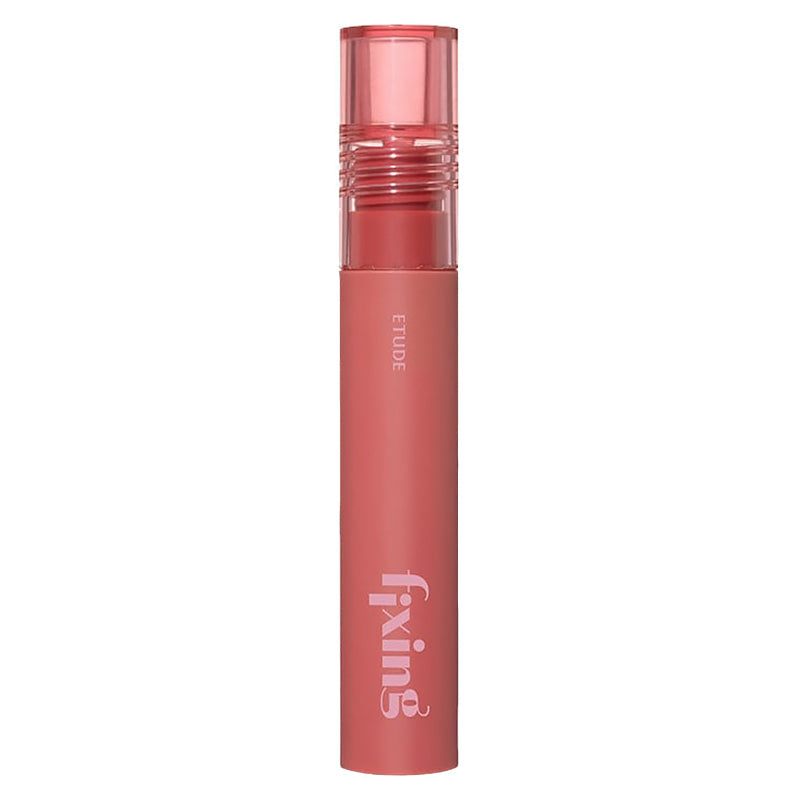
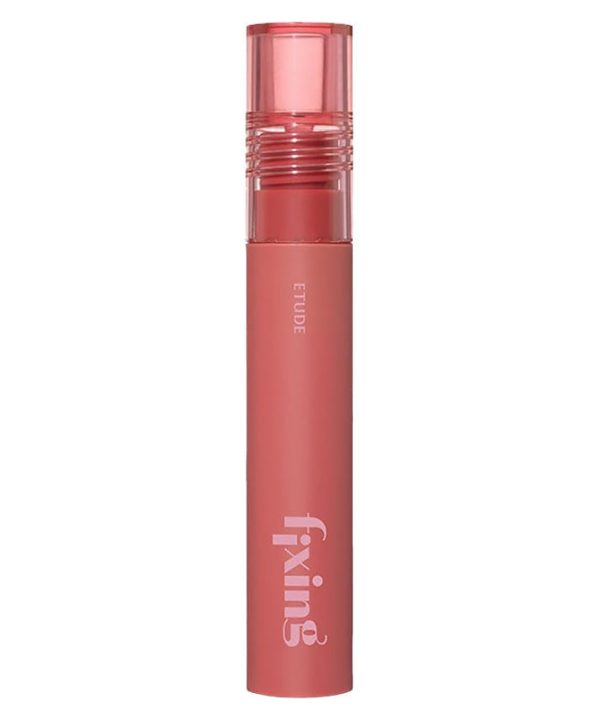
ETUDE Fixing Tint
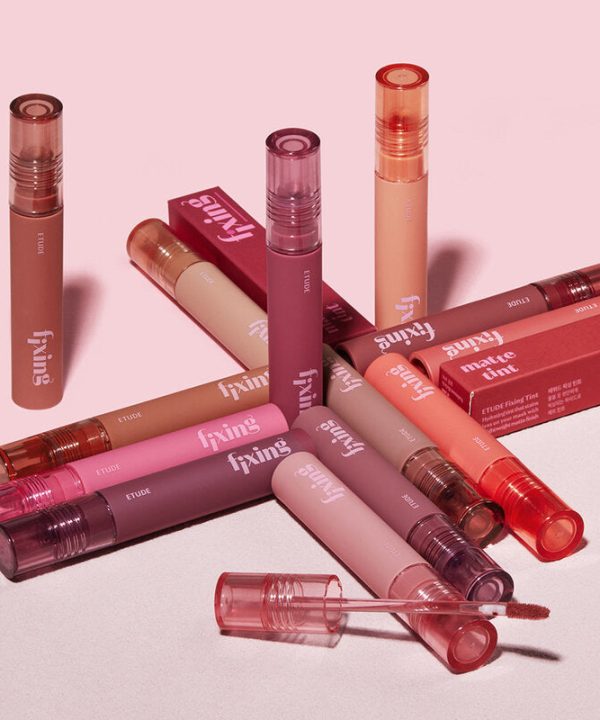
Fixing Tint is described by ETUDE as having a hydro-matte finish. Choose it if you prefer a matte look to a glossy top layer. Keep the placement light for a softer outline, or take the colour closer to the lip line for a more defined result.
Check the shade shown on each product page before ordering. A brand's full shade range is not the same as the options listed at MUNO, and the same colour can look different against different natural lip tones.
Check the amount and placement first. One large dab can leave a stronger patch than several small touches. Try a lighter first layer, blend its boundary, then add depth only where needed. More product across the whole lip is not always the best correction.
Do I need two colours or a lip liner?
No. One tint can create the effect by varying the amount you apply. A liner is optional if you want to define the outer shape, but it is not a required purchase for a beginner's gradient.
Can I add gloss afterwards?
You can choose a glossy top layer if you like that finish. Let the tint settle according to its directions, then use a light touch so that you do not drag the colour around. Adding gloss changes the final look of a matte tint.
How should I touch up and remove it?
Check which areas have faded before reapplying; you may only need a little colour in the centre. At the end of the day, follow the product's removal directions and avoid repeated hard rubbing. Our cleansing oil and balm guide explains those two makeup-removing formats.
Sources and product information · Checked 17 October 2026. Application suggestions are editorial guidance; follow the directions on your own product.